Quick Whimsical Unicorn Valentines Box for Students and Teachers
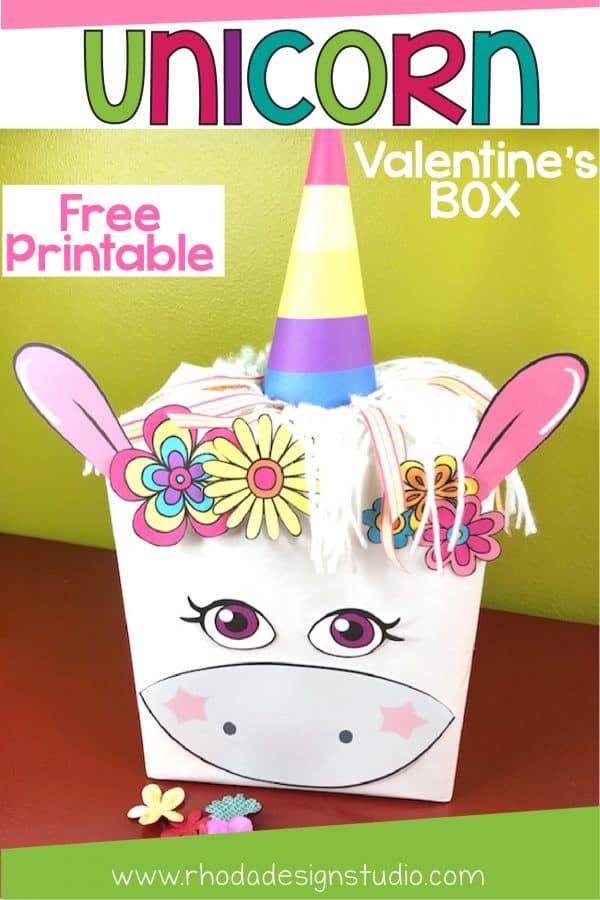
Creating a colorful and whimsical unicorn Valentines box is super easy with this fun printable and easy set of directions. Dress up an everyday box
Children are in love with unicorns. Students in my classroom were decorating pumpkins as unicorns! Every chance they get, they turn a craft into a unicorn. They also love to work on math and spelling when unicorns are involved.
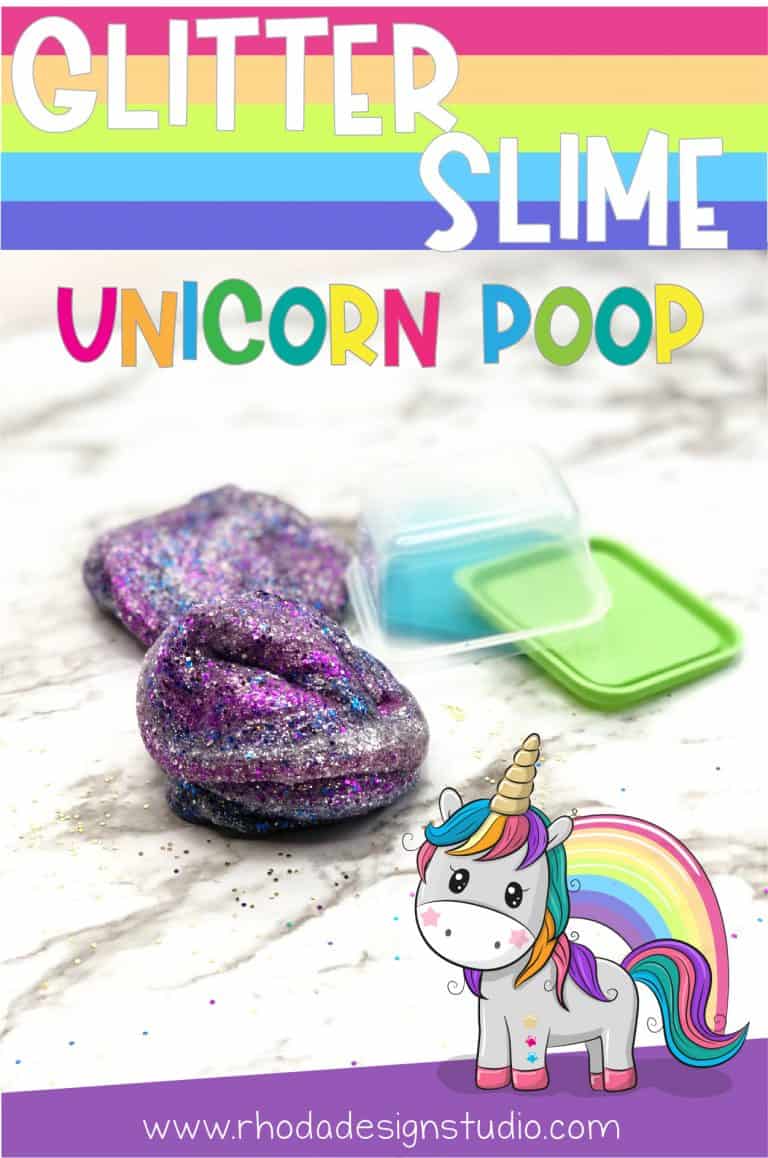
Now you can help them add a Valentine’s Day Unicorn to their craftivities. If you want a science lesson that ties in with the standards you can check out this unicorn slime post.
With the unicorn printable you can choose to have your child or students color the elements of their unicorn box or you can print pre-colored designs. Either way, this unicorn Valentines box is a quick and easy project.
Ready to get started. There are a few supplies you need to gather up. Most of them you should already have on hand!
*this post contains affiliate links, please read my disclosure for more information
Unicorn Valentines Box Supplies
- box (I used a Kirkland almond milk box)
- butcher paper
- scissors (my favorite are Cutter Bee scissors)
- glitter and glue (or glitter glue)
- hot glue/hot glue gun
- yarn, ribbon, or party ribbon
- Unicorn Valentines Box printable
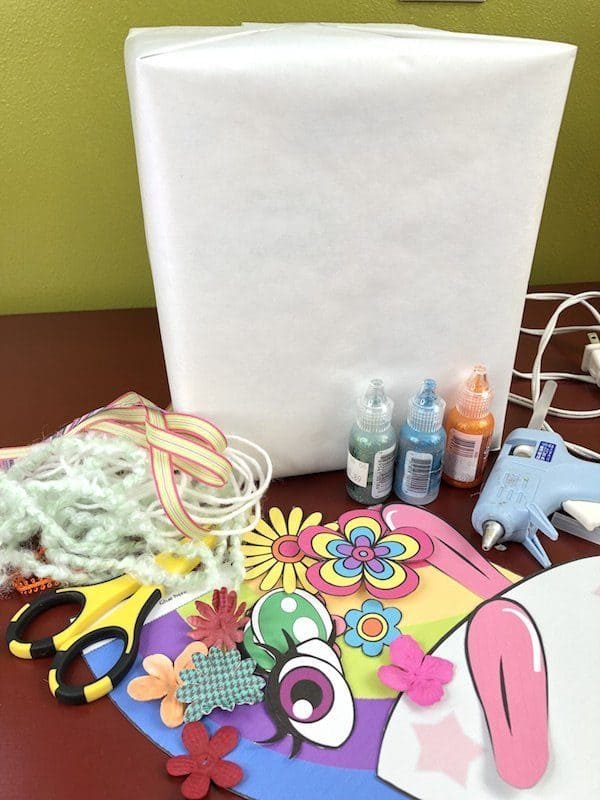
Wrap the Unicorn Box
Start by tapping up any extra edges or flaps on your box. You don’t want them popping up in places after you start wrapping it in butcher paper.
Choose the side that will be the front (the smoothest is your best option). The other sides won’t be as visible so they aren’t something you really need to worry about other than covering them with white paper.
Cut a hole in the top of the box toward the back edge. This will be where friends and teachers can drop in Valentines. Make it about 3/4 inches wide by 3 inches long. It doesn’t need to be specific it just needs to be large enough to fit Valentines cards and candies through.
Now wrap the box like a Christmas gift in white paper. You can use butcher or freezer paper or if you have gift wrap that has a solid white backside, that would work great too.
You might have to wrap the box twice to cover up the design underneath depending on the thickness of your paper.
Make sure the face of your box does NOT have a seam across it. I made the seam go to the back and the ends were on the top and bottom so they could be hidden.
Cut the Paper for Valentines
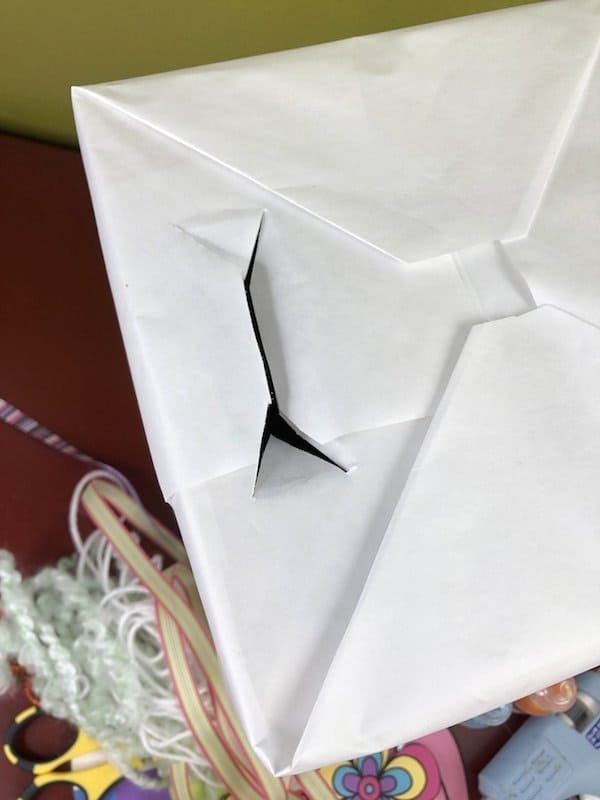
If you cut a triangle at each end of the opening and then slice across the opening, it will be easier to wrap under and glue. This will make a nice smooth edge that won’t get caught on envelopes and cards as they are adding them to the box.
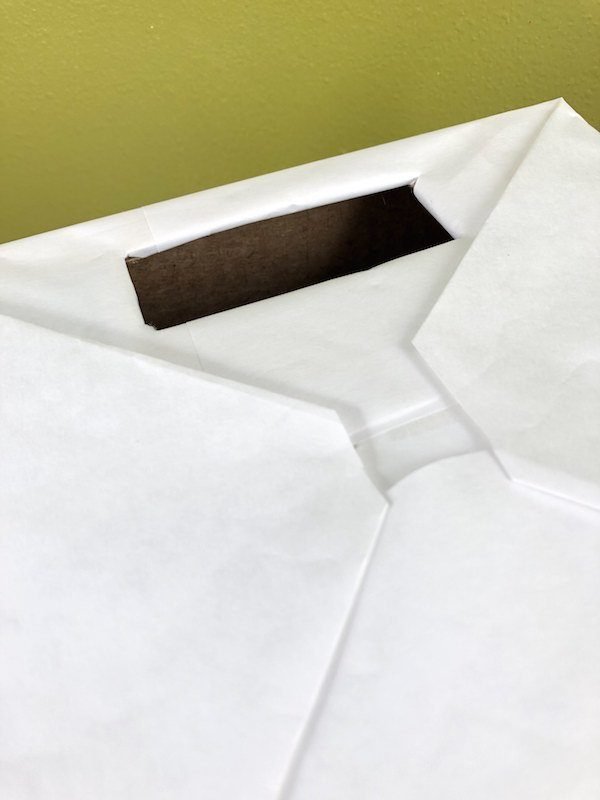
Wrap the Unicorn Horn
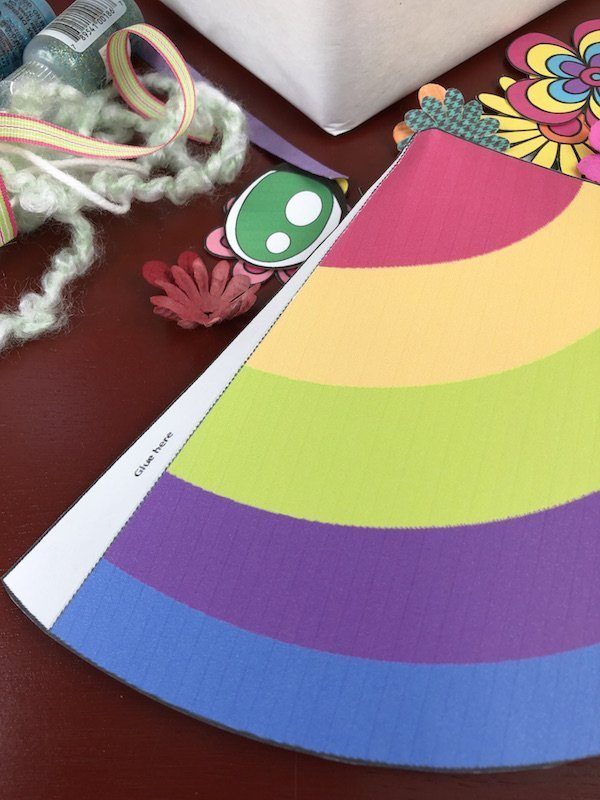
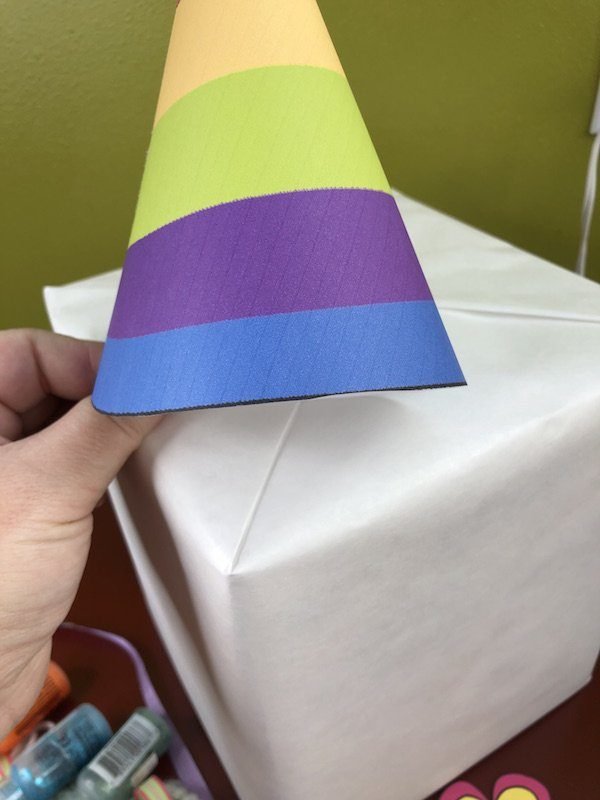
The cone for the unicorn’s horn has a space for you to add glue and then fold it under to make a cone. I would recommend shaping it and getting an idea of the size you want before adding any glue.
You can follow the dotted line and make the cone larger, or tuck that edge in a little further to make a smaller unicorn horn. This will depend on your preference and the size of the box you chose.
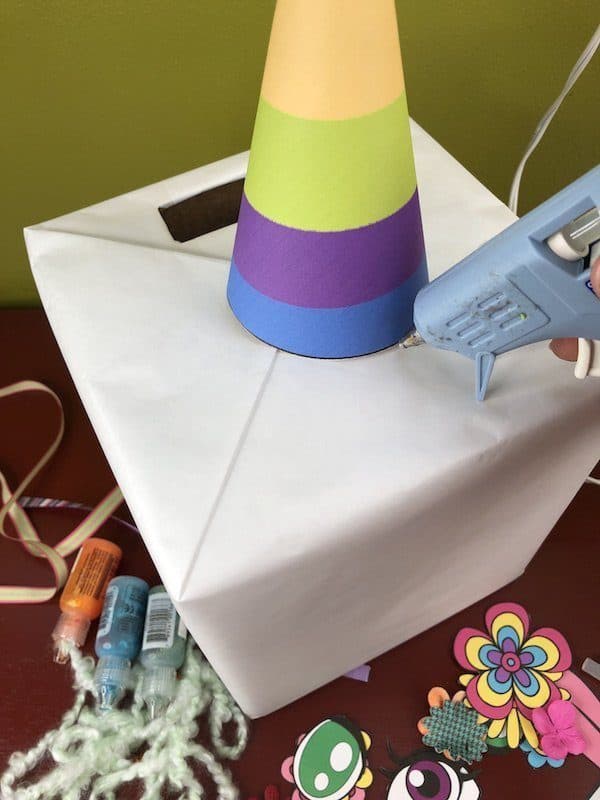
After you have the size you want, add glue down the seam to hold the cone in its shape. Place the cone in the center of the box and if you need a guide-line, trace around it with a pencil.
Now run a line of glue and place the horn down on the box. If you need to run another line around to hold the horn down, that is okay. It will be covered up by unicorn hair in the next step.
Beautiful Unicorn Hair
Use ribbon, string, yarn, or fabric to create beautiful unicorn tresses. I used yarn and ribbon after I glued the horn down. First I ran a piece of yarn around my glue seam.
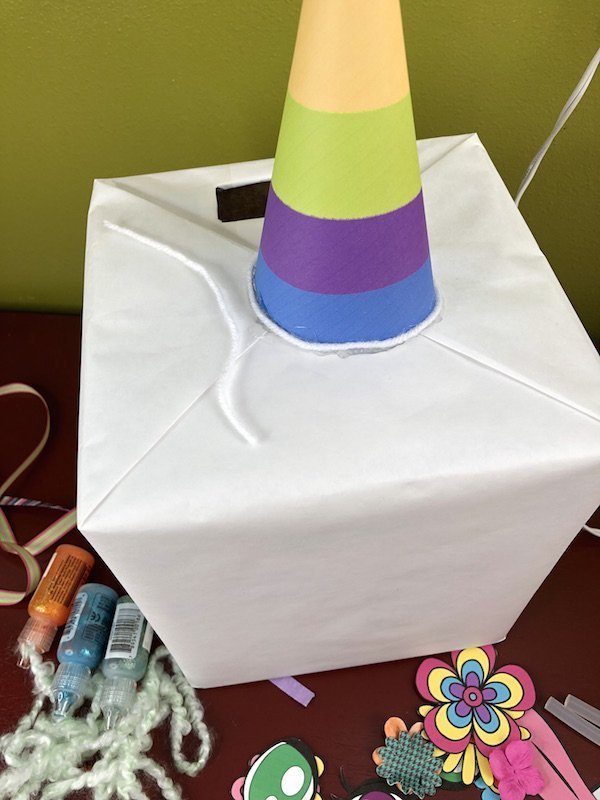
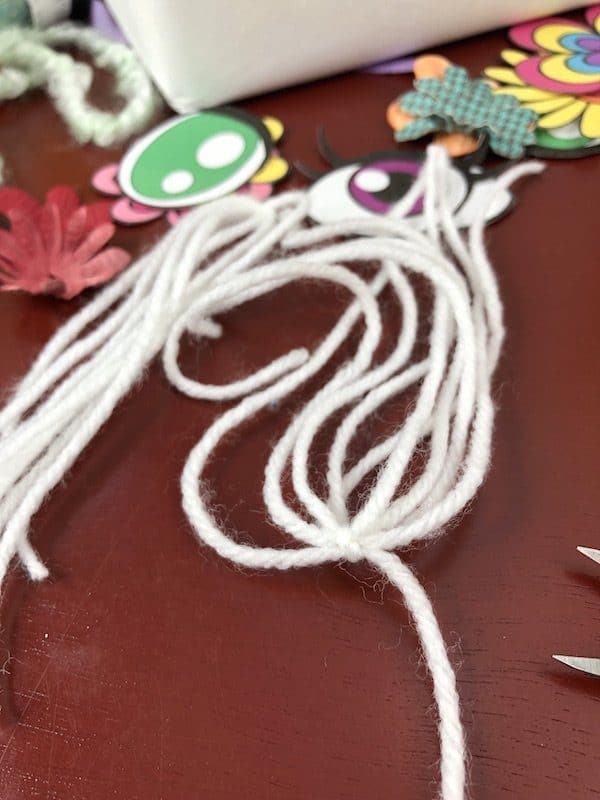
While the glue around the horn was cooling, I wrapped a strands of yarn into clumps. Fold the yarn or ribbon back and forth 5-6 times and then loop the yarn through one of the ends.
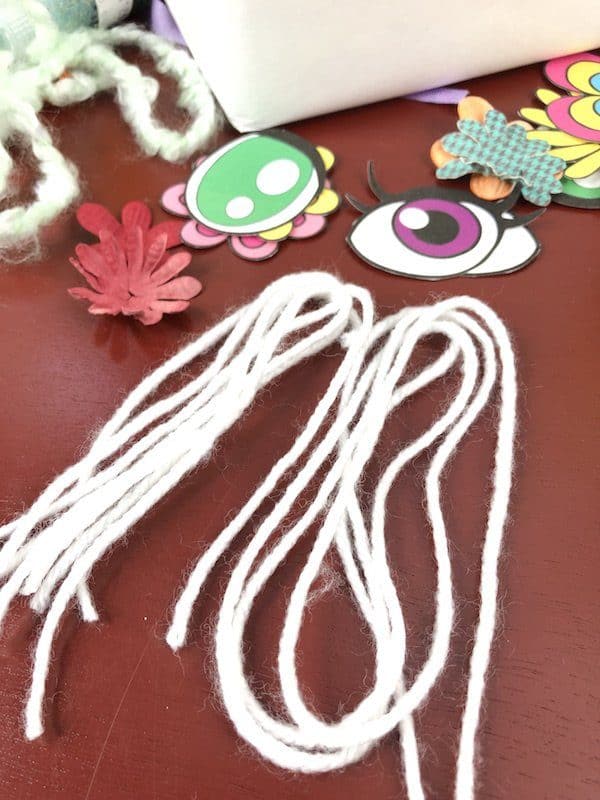
Tie it in a knot and then cut the strands so it looks similar to a graduation tassel. Make 5 or 6 of these bunches and then cut some ribbon or other colorful strands to place in randomly.
If you are using a thicker yarn, ribbon, or fabric, take a long strand and glue it around the top of the horn in loops. I had a thicker fuzzy sea-foam colored yarn that made perfect unicorn curls so that is what I chose for the “hairline”.
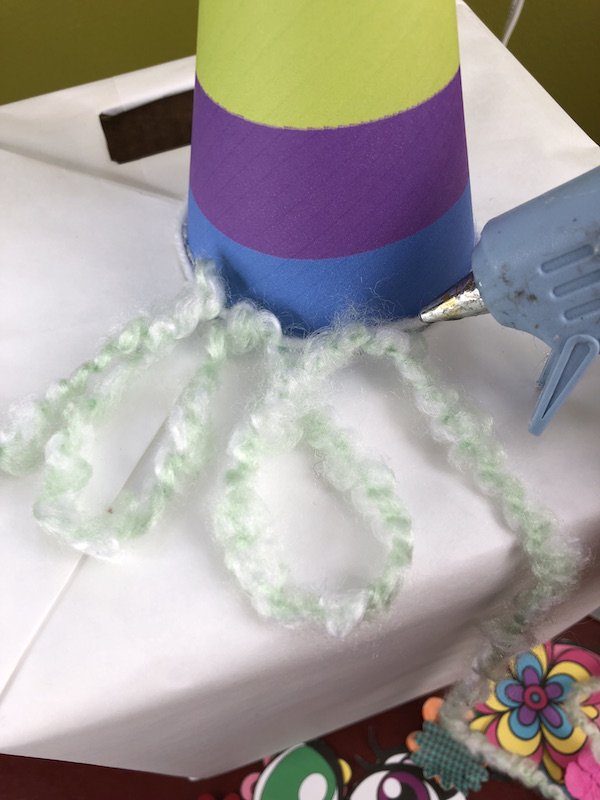
Tack down the top of each loop. then create another loop and keep going around the horn until you reach the beginning. I skipped the loops by the whole in the back so they wouldn’t be in the way of cards and get snagged by edges or corners of envelopes.
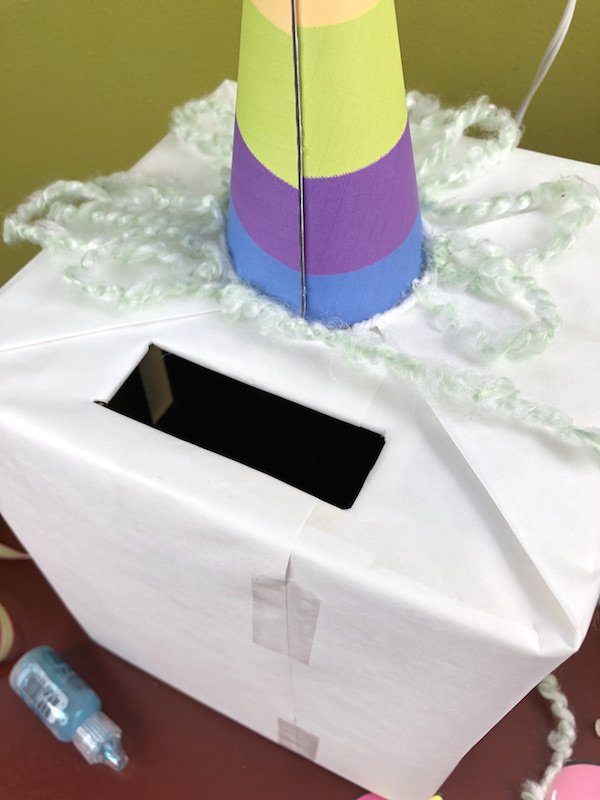
Make as many loops or passes as you want. Switch up the yarn or string. It is up to you how much hair you want your unicorn to have!
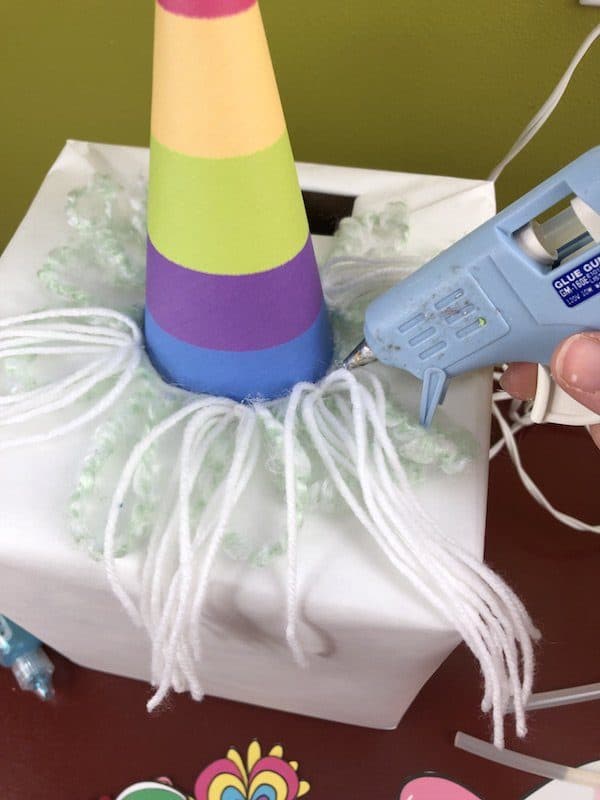
Next, add in the tassels of yarn that you created and some random colors and ribbon. Sparkly ribbon, raffia, or gift ribbon would be fun to add for some different colors. Rainbow ribbons or colors. I also thought about adding in little strips of embroidery floss in a rainbow of colors. Or you could add a few braids. Make it fun and cute!
The Face of Your Unicorn Valentine Box
The final touches go on fairly fast.
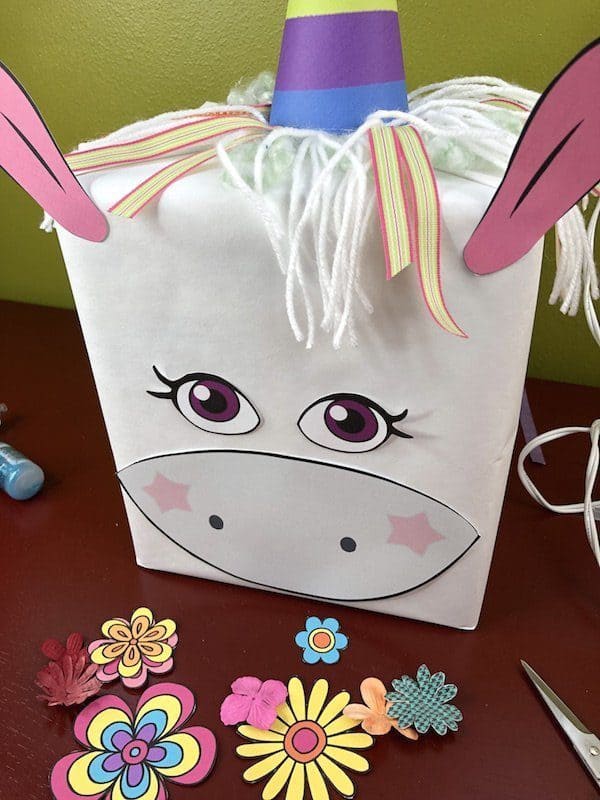
Print the black and white or color version of the unicorn printable. Color and cut them out as needed.
I added the ears to the corner of the box. You could also think about folding the base of each a little and adding them to the top of the box so they get covered by hair and appear to be popping out of the top of the box.
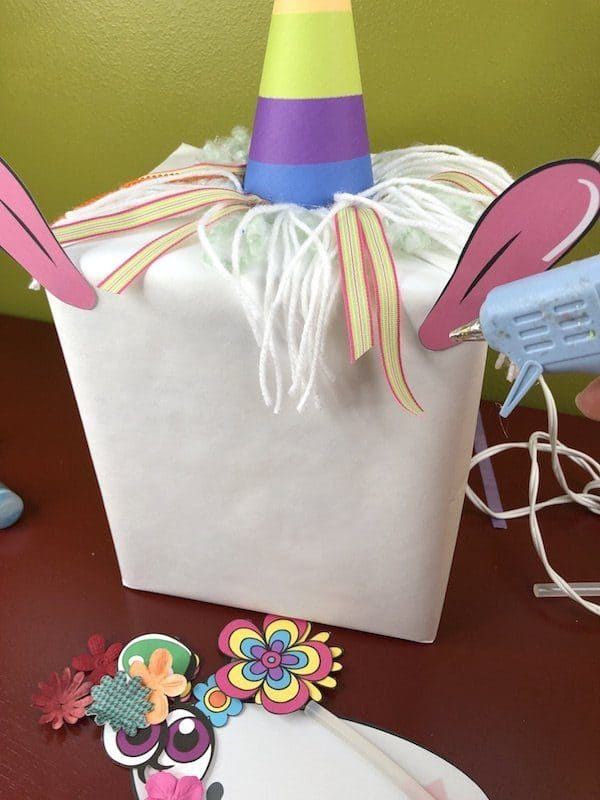
Adding a touch of hot glue to the bottom of each ear and attaching them in the corners was quick and easy and I know they will stay stuck where I placed them.
Next, add the muzzle or nose to the box. I placed it toward the bottom of the box because a unicorn has a long face like a horse and you need space for the eyes and some flowers if you choose to add a “headband”.
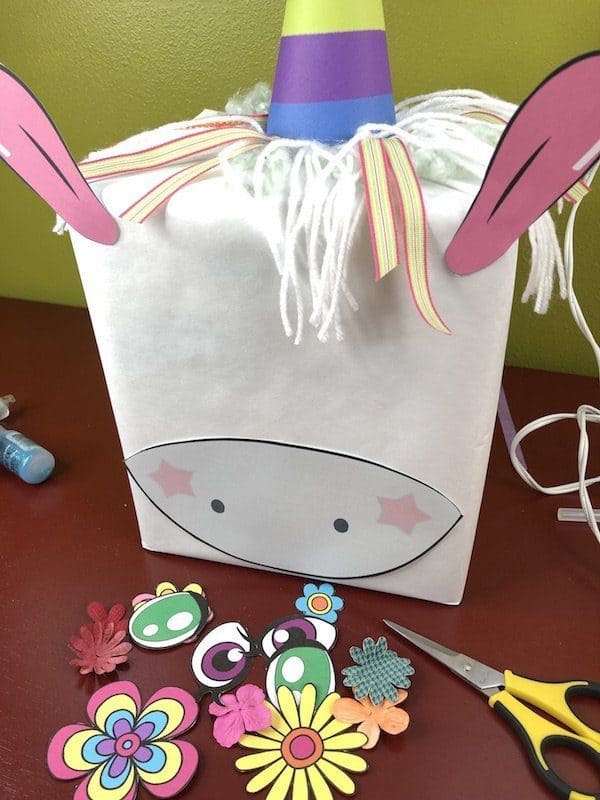
Next, choose the style of eyes you want. I chose the ones with pre-printed eyelashes, but you could choose the other set of eyes and draw on your own eyelashes.
If you want to add your own eyes or embellishments to the unicorn’s features, this is a great time to do that.
Finishing Touches
There are flowers included in the free printable. I printed out the colored version to use. You could also use craft flowers or fake flowers to add across the front of the box as a headband or garland.
Add details to give your unicorn Valentine box character. Glitter or rhinestone stickers will add a whimsical touch. Stickers or a quick doodle with colorful markers.
You can add your name or your child’s name to the box on a side with colorful markers or alphabet stickers.
This project is quick, easy, very affordable and makes a super cute Valentine’s Day box. It would also be great for unicorn birthday parties or other unicorn themed events as a decoration (just skip adding the hole to the top).
It would also make a great kids craft for a fun afternoon of project making. I know my daughter would have loved this as an activity when she was younger. I’m thinking about taking supplies to my nieces so they can each make a unicorn Valentine box as well!
Pin this post to save it for later:
