DIY Dairy Crate Stools
Dairy crate stools (or even non-dairy) are all the rage right now! You can purchase them from any of the major vendors like Target & Walmart. And they come in loads of colors!! It’s almost distracting and overwhelming with all the choices. Makes me want to have a rainbow room! Almost.
I was going to buy “ALL THE COLORS”…of my color theme. But I wasn’t happy with how flimsy they were compared to regular dairy crates. Then, I couldn’t justify the price if they weren’t similar quality.
My solution was to talk to the local grocery store owner. I got permission to hijack a few dairy crates out of the pile behind the school. Free. Can’t beat that. They are black. Some have some worn out stickers and goo. Cleaning was necessary.
*this post contains affiliate links, please read my disclosure for more information
How Do You Make Them Cute?
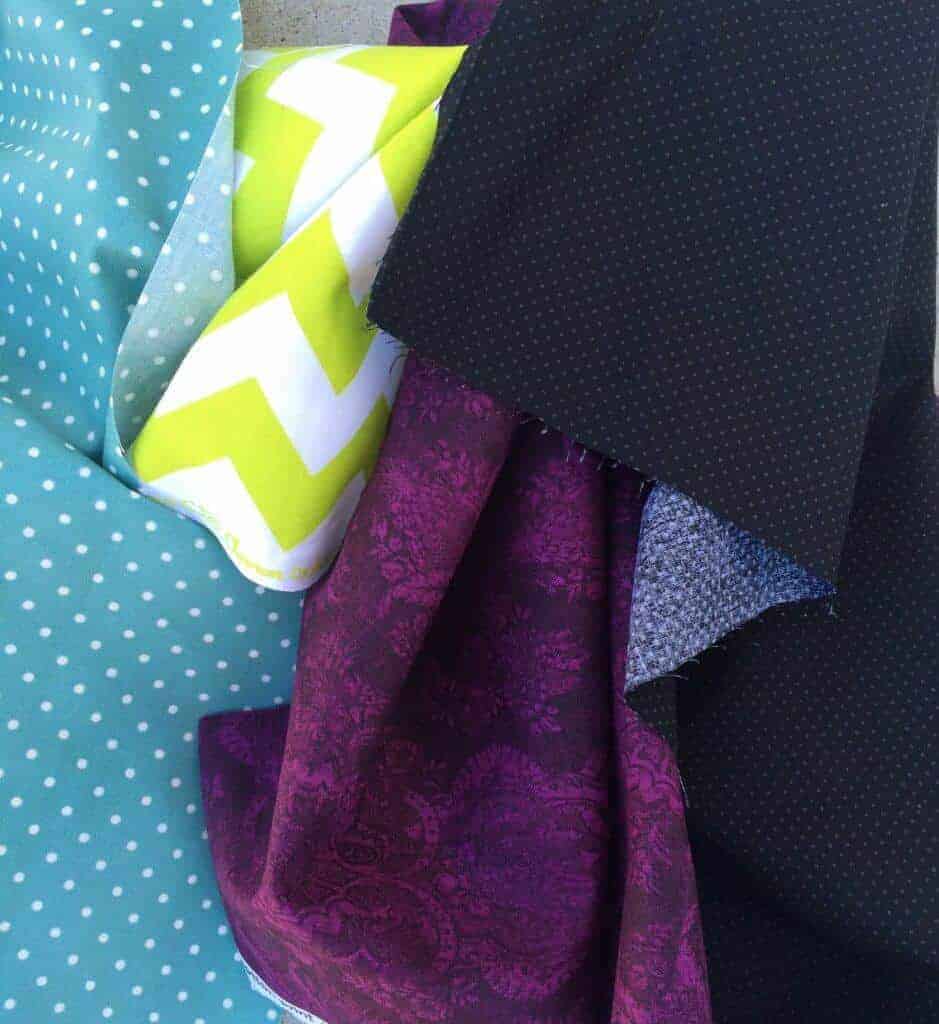
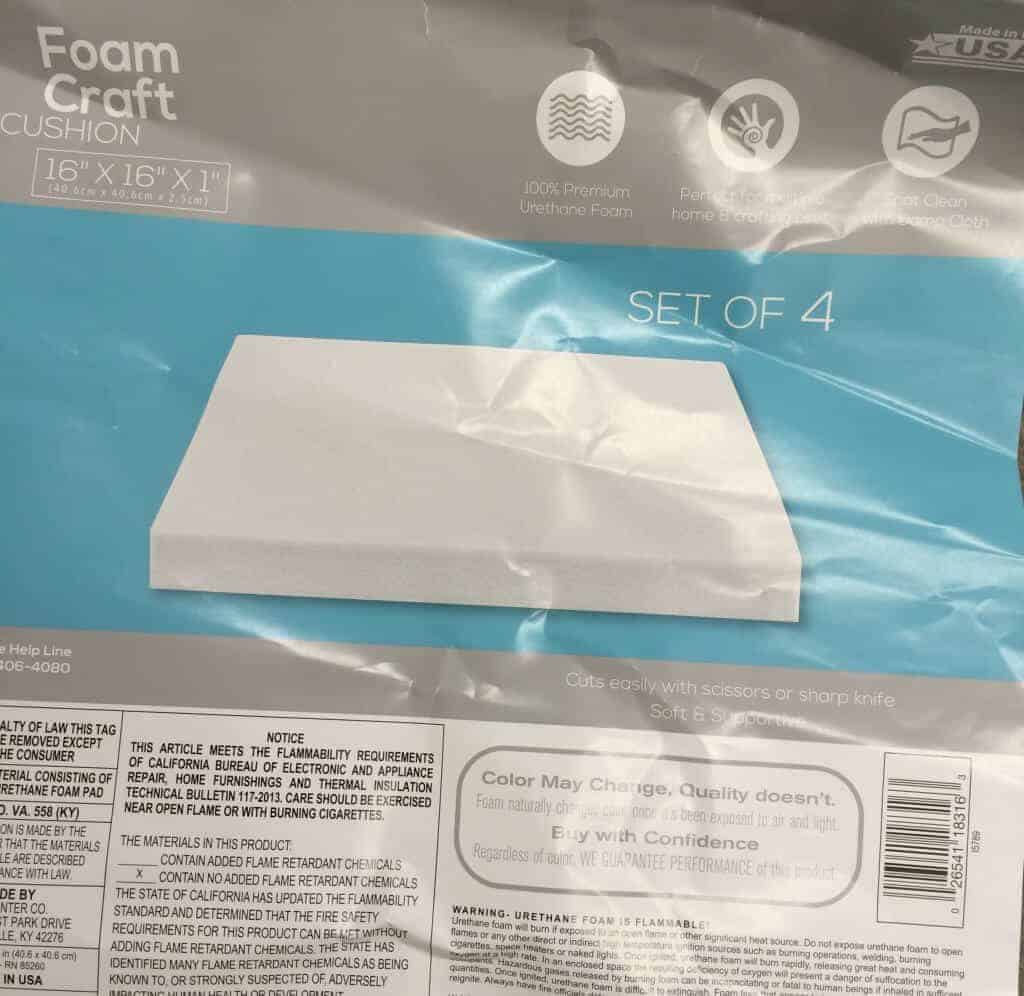
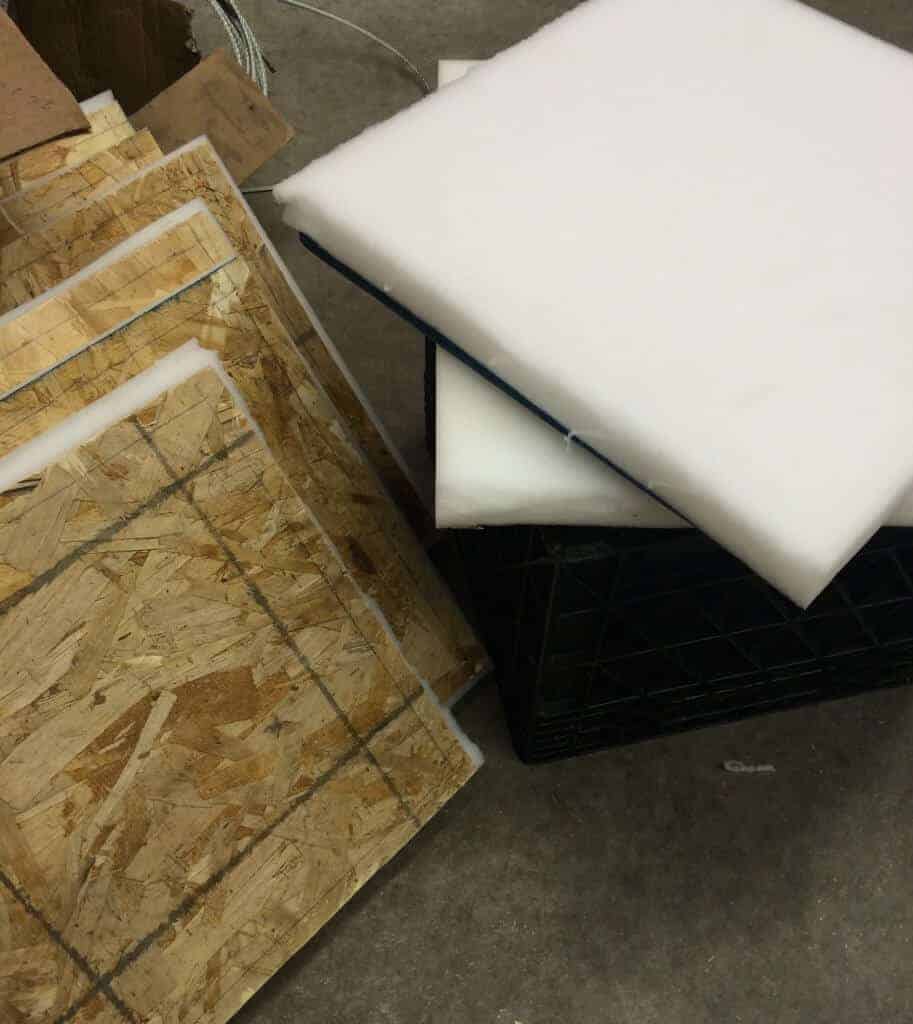
First, things first. I bought some fat quarters in my theme colors as well as two packs of foam at Walmart. Less than $10 total.
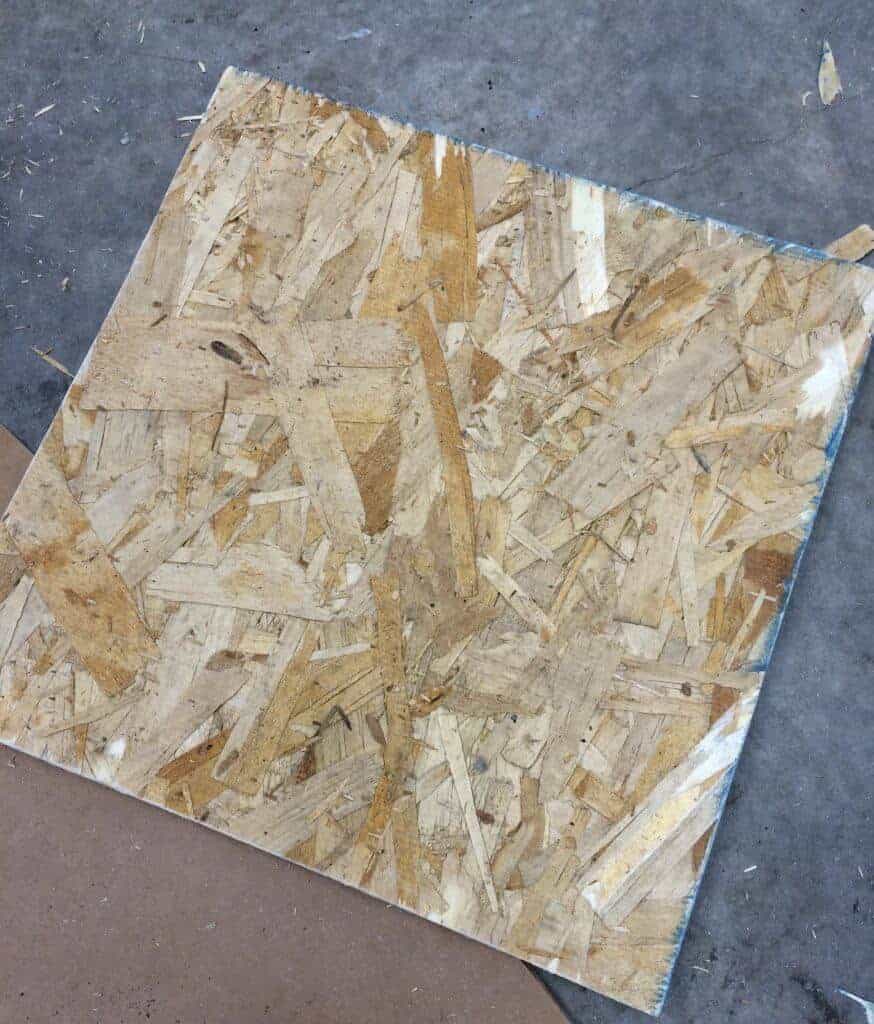
Second, I mentioned my project to my husband. Usually, that’s all it takes to get him to start scheming ideas for me and helping 🙂 He had scrap particle board laying around and an idea to make the seat covers. Dairy crates don’t have that handy “lip” inside the crate to hold the seat when it tucks down inside the crate stool. Our solution was to cut the seats a little bigger than the crate opening and then add some wood shims to the underside that would fit inside the crate opening and keep the lid from slipping around.
Supplies:
- Dairy Crates
- Foam Cushioning
- Particle Board or Plywood
- Fabric (fat quarters are inexpensive and there are loads of choices)
- Spray Adhesive
- Staple Gun
- Wood Scraps or Lumber ripped into 1 x 2. (only if your crate doesn’t have a lip)
I found this on sale in the store for less than $8 a pack. Online it’s closer to $20 a pack!
- Cut your lids or seats to your desired size (the size of your crate stools or a little wider). We cut mine for the regular dairy crates 13in x 13in. Sand the edges so there aren’t any sharp wood slivers that will poke through your fabric.
- Cut foam to match the size of your seats. A little overhang is ok.
- Spray adhesive on your foam and the board. Wait a minute or two for it to be tacky and then sandwich them together.
- Wrap fabric over the seat and staple on the bottom.
- If you have the crate stools that have a lip inside you won’t need the wood shims. If you are placing the seat on top of the crate opening, then you will need to complete the next step to keep it from slipping off.
- Cut wood scraps or ripped lumber to make “stops”. Place them on the underside of the seat so they fit just inside the crate. They don’t have to wrap the whole perimeter, you can use small blocks just as well. My husband like to build things “extra durable”!
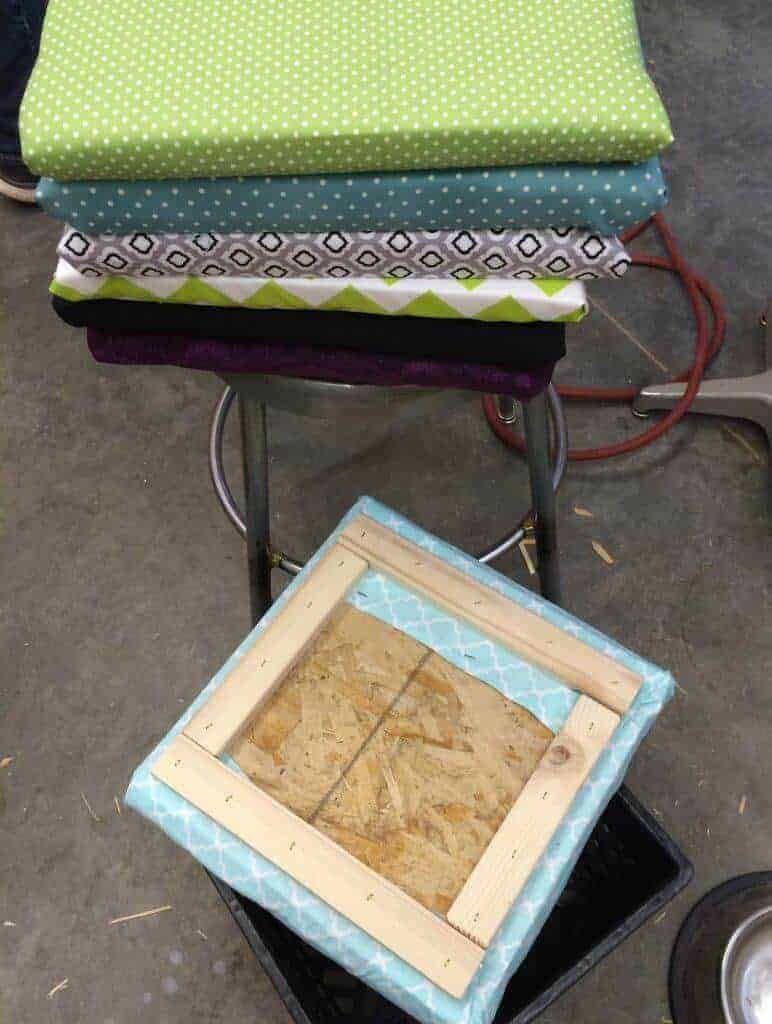
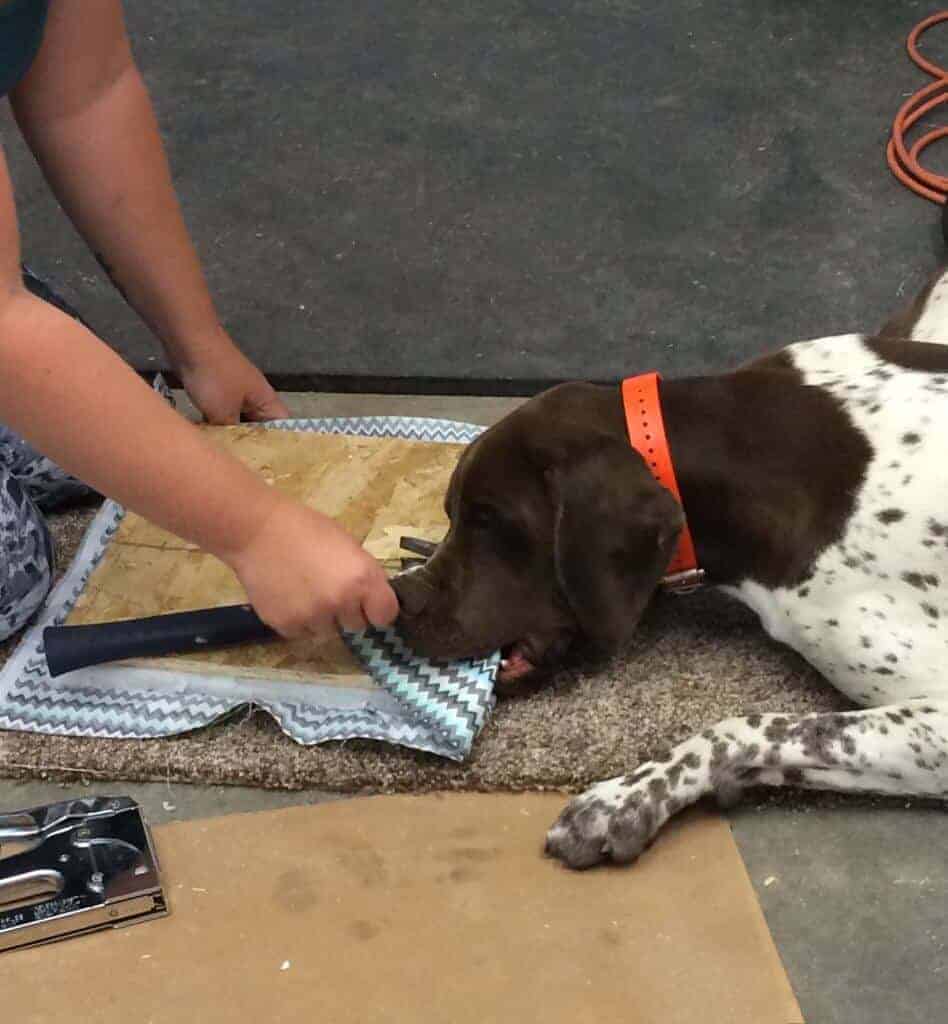
The whole family (including the dog) pitched in to help me make my crates. I’m super happy with the way they turned out and the cost was under $10 for 8 seats!!
You can see them in my finished classroom in my post about my classroom reveal.
