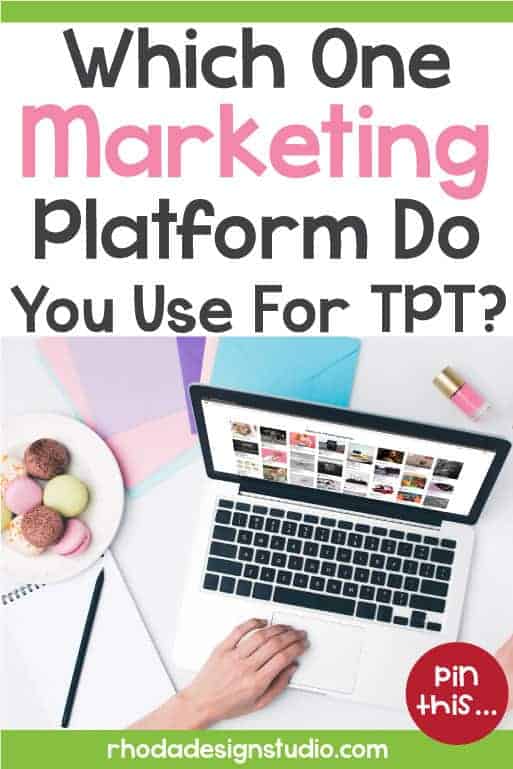
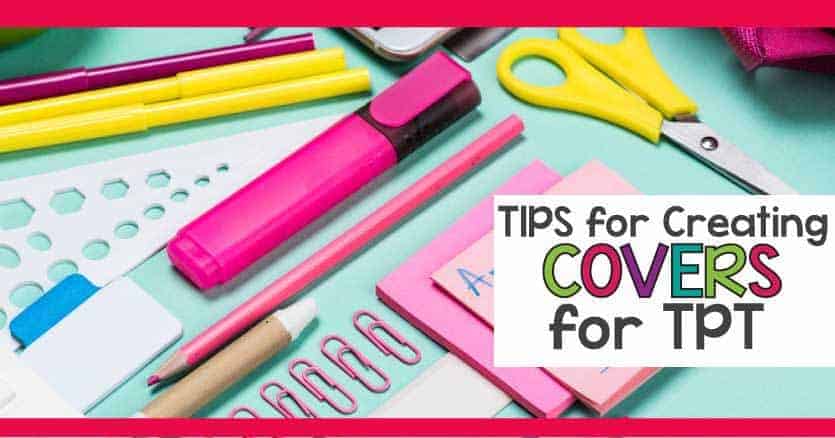
How to Create a Great Cover for TPT Products
When you create a cover for TPT products, you are essentially creating the packaging of your resource. It’s the first thing a potential buyer will see. It’s what makes them stop and look at your product in a sea of hundreds of others.
No pressure.
These guidelines on how to create a great cover or thumbnail image will help you to create a cover for TPT products that is consistent with your branding and that will hopefully entice buyers to stop and look more closely at your quality lessons and resources.
1. Make it Square
You have the option to just upload the front page of your resource, but please don’t do that. I’ll show you how you can modify an 8.5 x 11 cover to fit a square template (without skewing and stretching your image…yuck!).
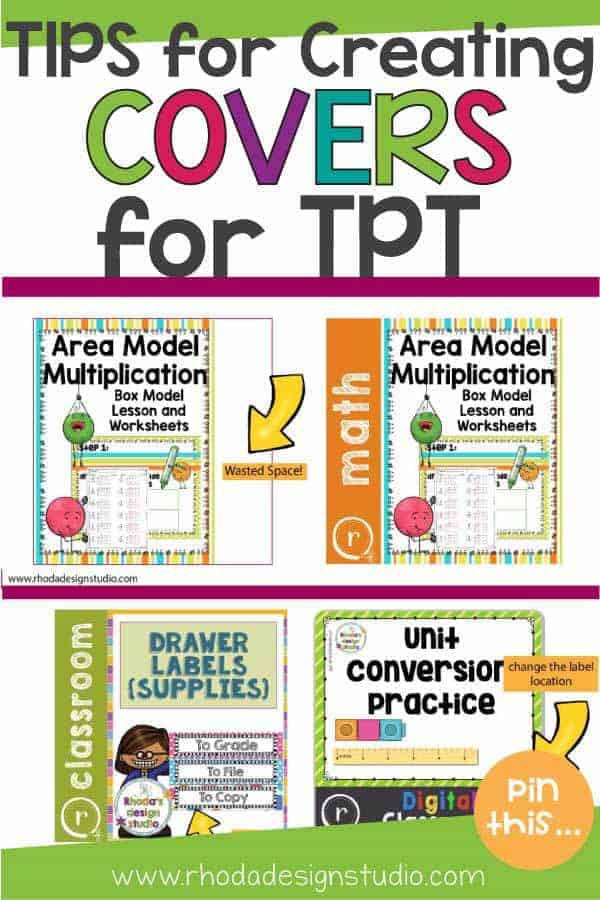
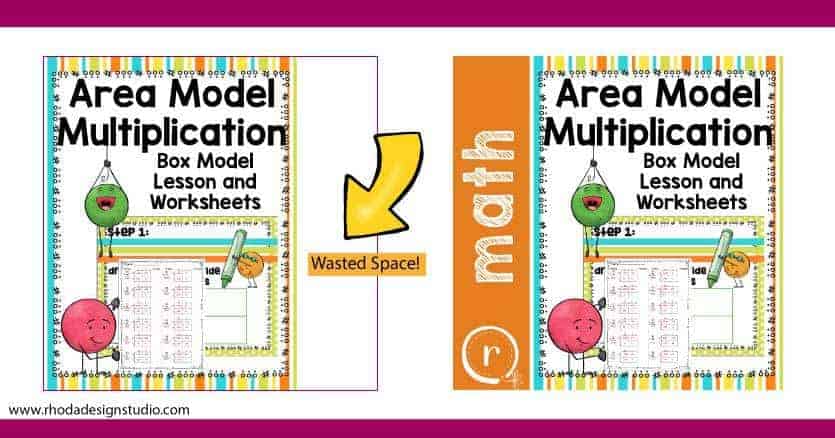
You are given a prime piece of real estate. The cover area of your product is meant to be square. Why would you only use 3/4 of that space?
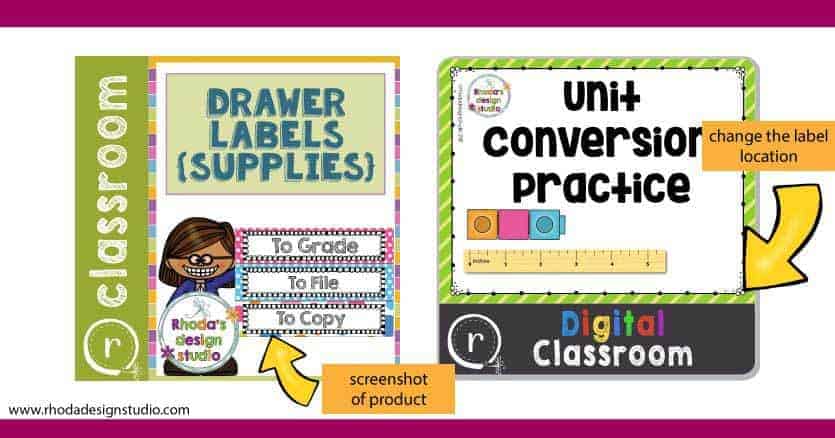
2. Don’t Reinvent the Wheel
You’re a teacher. And you are busy!! I get that. I don’t think you should have to create a cover for your resource and then design a completely separate image for the main cover image on your TPT listing.
Look at the graphic above again. I design my document cover (on the left) first. Then I add it to a template that helps to make my image look more finished (on the right). It has a label that places it in a category of my shop, a watermark of my logo, and a title that is still clear and legible on a smaller device.
3. Make Your Title Bold, Large, and Clear
I know you want everyone to know exactly what is in your resource, how it will help them in their classroom, and why they should purchase it.
Do NOT put everything you can think of on the cover and your main image. That is what a preview and the description are for. You need a title that helps your potential buyers know if they should purchase this resource or not.

What topic does it cover? Is it for reading or math (if you choose to use a label template like the one shown above, that is covered already)? What grade is it for? Each time you create a cover for TPT products you should be answering these questions with your image.
You could have a section of your template that includes the grade range if you want.
Print fonts are more legible than script fonts. Bold or thicker lines are better than skinny thin lines. These are things to keep in mind as you type out your titles.
Note: It doesn’t have to match your title listing 100%. You can put the basics on your image and then add more detail to your listing title.
4. Don’t Fill it With Clipart and Clutter
When you create a cover for TPT products, you do not need to put a sample of each page of the resource, a load of clipart, or fill every single blank space.
Less is more! Choose a few of your brand’s most dominant colors (or colors from the resource). Use those for the main elements. Then choose an image or real photo and a few pieces of clipart to help accent the layout.
5. Find Your Style
It’s really easy to get “cover image” envy. Just when you think you have the best design you could possibly create for your images, you will see someone else’s design on TPT and think “crap! now I need to fix all mine!”. No, you don’t.
Your style will grow and evolve. Find what works for you now and then if it evolves a little over time that is okay too.
Look around before you start. Write notes about what you like best on a cover when you are looking to buy a resource on Teachers Pay Teachers. What catches your eye? How can you incorporate that same style or element into your own covers?
This doesn’t mean you go and copy someone else’s covers. Adapt different elements from different covers to make something unique and new for your shop.
6. It’s Okay to Update
Your taste and style will change over time. That’s all part of the process.
The good news…TPT allows you to just change your cover photo. It used to be that you had to upload all new images. You couldn’t pick and choose which images you wanted to update.
Now, if you decide to revamp all your covers and create a whole new style, you can go through your resource listings and change out the covers. That makes restyling or branding your store much easier!
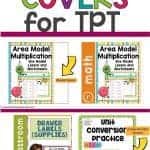
7. Create a Template
Certain elements will always stay the same on your cover images. Build a template that is square (this saves you from creating a new document each time…which is another time suck).
Add your logo. The label. Whatever components will be consistent.
Save this file as “cover template” or “main image template”. Every time you need to create a new cover image, this template will have all your key design elements and will be halfway finished. Add your main image content and save it as a JPG.
If you use Adobe Illustrator this is a very efficient way to start products. You can save any file as a template and use it again the next time you create.
This is a great way to create a cover for TPT products that is uniform, quick, and has all the elements you need each time.
Learn How to Sell on Teachers Pay Teachers
If you are just starting your TPT journey, you can check out my MEGA blog post with Learning to Sell on TPT Tips.