Creating Images with PicMonkey for Instagram and Pinterest
Yesterday’s post was about using Photoshop to create your images for use on Instagram and Pinterest. Not everyone has Photoshop or can justify the cost. There is another way to edit your images.
Creating images with PicMonkey for Instagram images is free for basic use is$3.99 a month (if you purchase a 12-month sub). If you want just a monthly subscription, it will be $7.99/mo.
A little cheaper than the $9.99/month for Photoshop if all you are using it for is photo editing. If you need to design a large number of pins or social media images, then I would recommend Photoshop.
*this post contains affiliate links, please see my disclosure for more information
Use PicMonkey to Edit Photos
1. Go to the PicMonkey website: picmonkey.com. If you have never been there before you can edit images for free. You can also sign up for an account and still edit images for free. You can create an account and still stay on the free plan for as long as you like. Some features won’t be available unless you upgrade, but the majority of what you need will be available.
2. At the top of the page when you click on “Open” you can choose to upload your image from your computer or Dropbox. This is similar to how we create an image with Photoshop. But this is also where things get a little different. Our image size is already set in Photoshop. In PicMonkey our canvas changes based on the image we bring in. We will have to go through some steps to make it the right size.
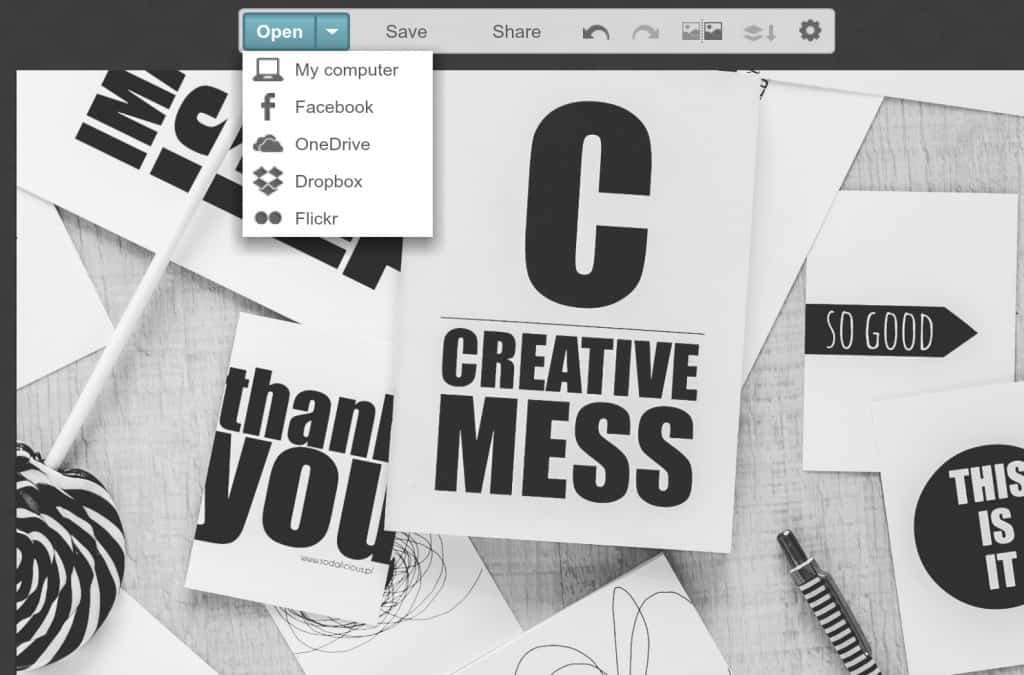
You can also choose a canvas size and just create a background and quote to use on Instagram or create a page and title for Pinterest.
3. Once you have your image or your canvas selected for your project we will do a few things to make it ready to post on Instagram. The first thing you need to do if you uploaded an image is to make your canvas square. You do this by selecting the “crop” tool and then typing in something equal for both width and height. Keep proportions and make it larger than you need your final image to be so you can keep more of your background. Try something like 1200px x 1200px.
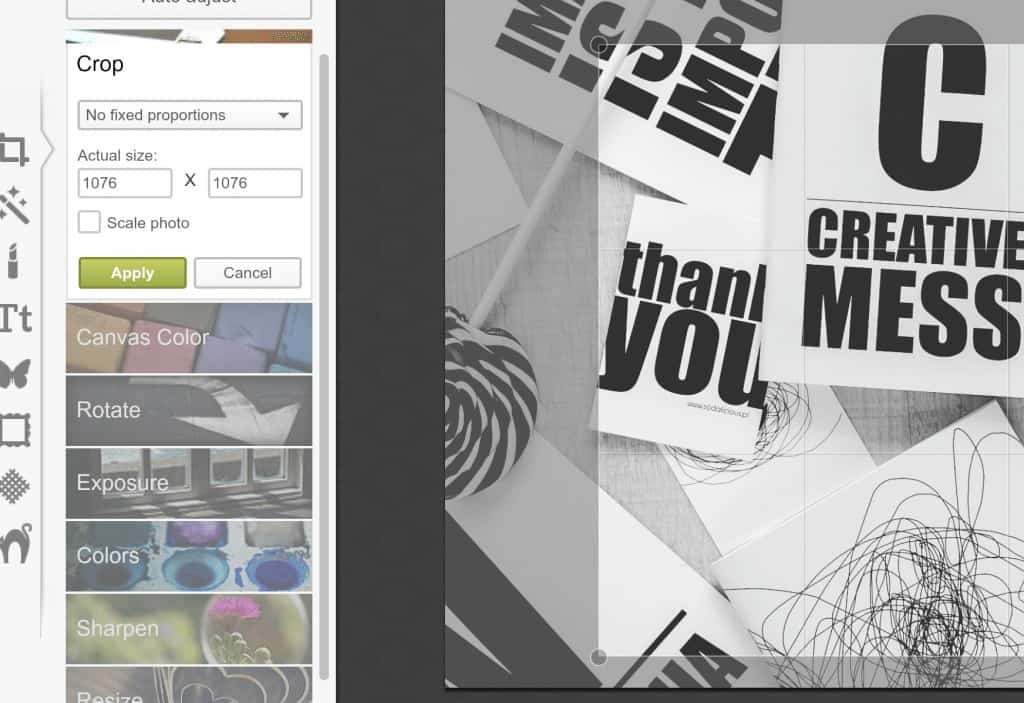
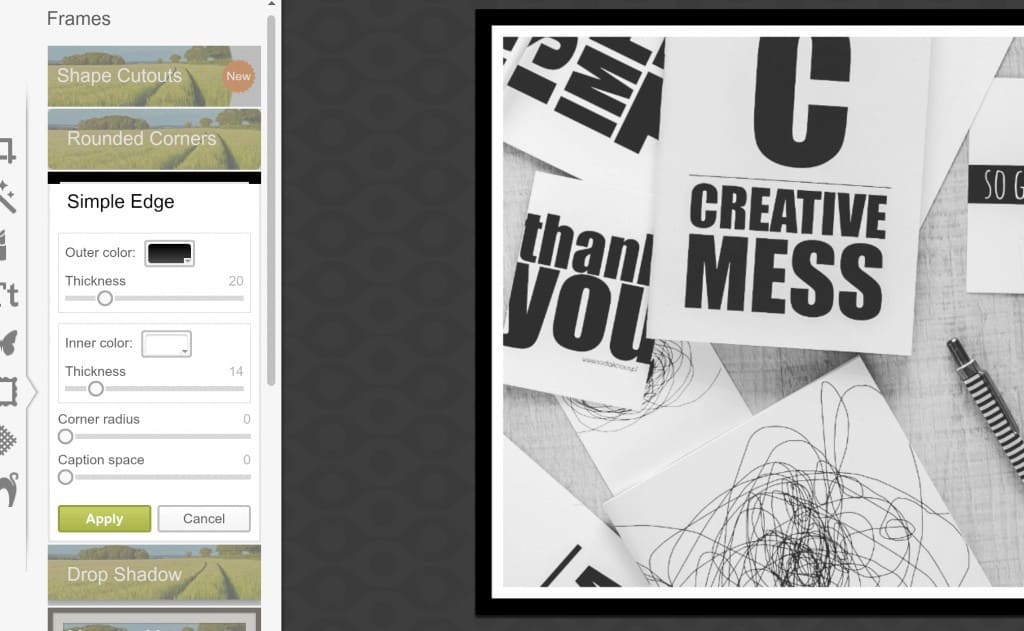
4. You can drag that crop selection wherever you choose on the image. Once you are happy with the area that is selected then hit the “apply” button. After you have cropped your image into a square you are ready to add a few fun things like a border and text (if you want to write a quote or a CTA (call to action)). The frame on the side toolbar has all of your border options:
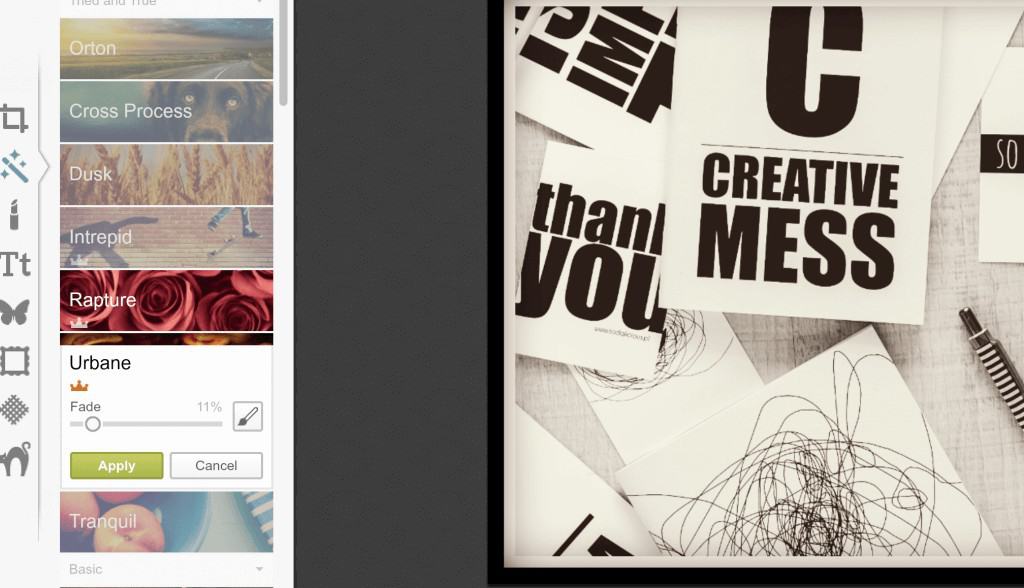
5. Add a filter if you want. Just remember which one you use and try to be consistent and use it each time you create an image for your Instagram stream.
6. Now that you have it all pretty it’s time to save your image. If you added a border, the dimensions of your image might have changed a little. If they did, that’s okay because you can readjust this right before you save. Just type in the height and width you want for your image before you click save. Instagram should be about 670-675 square. Pinterest should be 600px wide and about 900px long. It used to be that longer pins were better, but it is now recommended that you keep it between 900px and 1200px.
This is really all it takes to start creating images with PicMonkey.

That’s all there is to it. You now have a way to create content that works for your business and style. Creating images with PicMonkey for Instagram and Pinterest images is quick and easy.

Share your thoughts and suggestions in the comments. I love to hear them 🙂

