Ugly Filing Cabinet Makeover
It’s time for a filing cabinet makeover!
We all have one.
That nasty beat up filing cabinet that has been in the building since the beginning of time. I usually try to hide mine in a corner or somewhere unobtrusive because it’s a massive eyesore and just takes up space.
This year I decided I wanted to find a way to use the surface of the filing cabinet for something useful. It’s metal. Magnetic centers would be a great idea! Interactive. Fun. And using space that is normally wasted. But that filing cabinet is still ugly.
Time for a filing cabinet makeover.
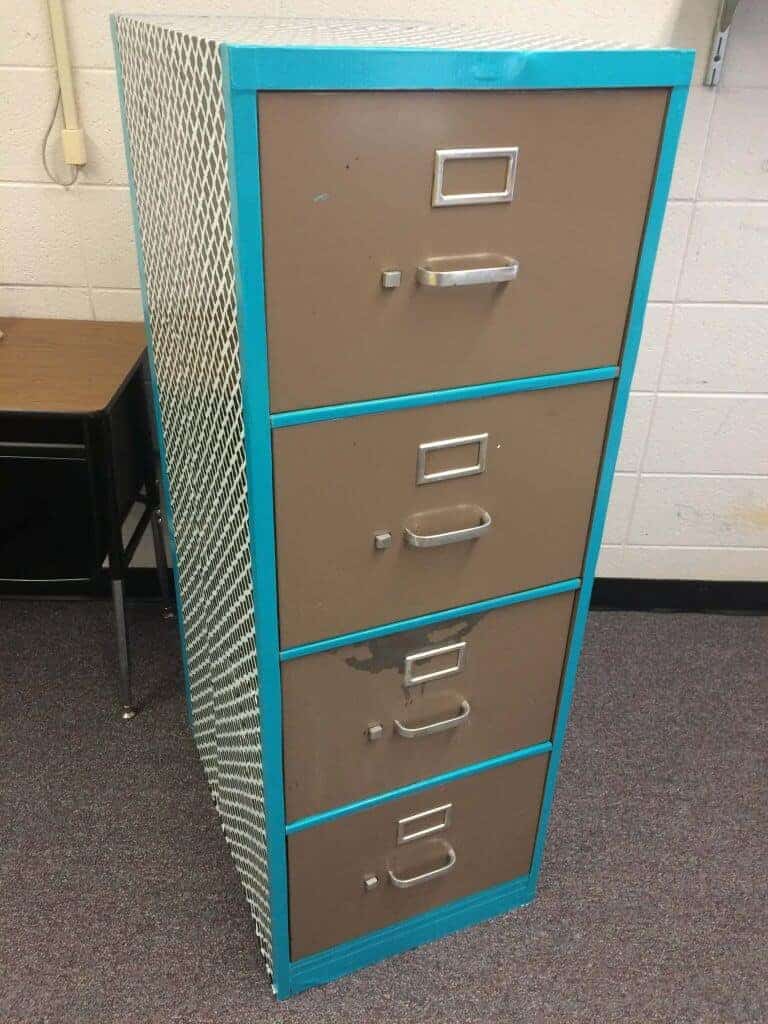
My daughter and I found some cute contact paper at the dollar store. We have had a massive supply of duct tape in different colors the past few years (after her wallet making phase). I didn’t get a beginning picture of the cabinet because I really didn’t anticipate it would be as cute as it is when I finished.
*this post contains affiliate links, please read my disclosure for more information
I really didn’t think about how I was going to finish the front of the cabinet when I started it. So I already had the contact paper and duct tape on it. You could reverse the order of the process (which I would actually recommend) and spray paint the front first. Then move on to the contact paper and duct tape.
Supply List:
Contact Paper (this is a fun aqua chevron pattern)
Spray Paint (a color that compliments or accents your contact paper)
Duct Tape (pick a color that makes a good trim, this works well to hold the edges of the contact paper in place)
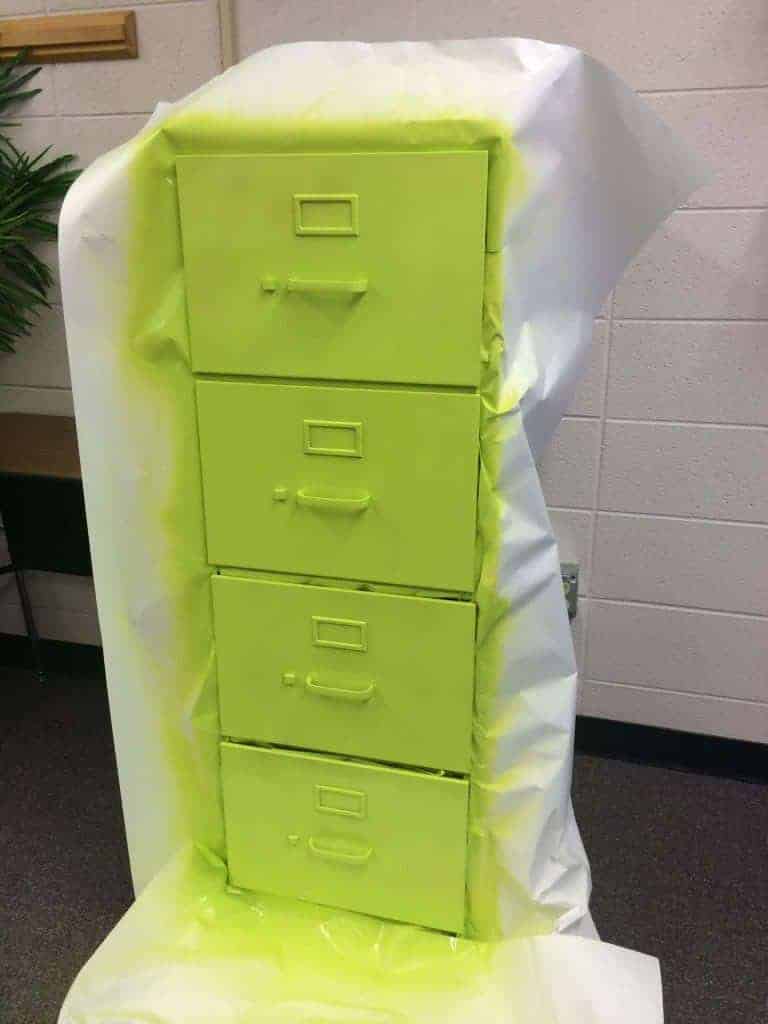
Since I was just winging it, I used some bulletin paper to cover for overspray. I cut out a hole for the front of the cabinet. Tucked the paper in around the drawers as well as some in the middle of the drawers. It took all of 15 minutes to cover and spray. I had the windows opened. Covered my mouth. Sprayed. Then closed windows and ran. It was late evening so there weren’t any other people in the building. It was all aired out by morning 🙂
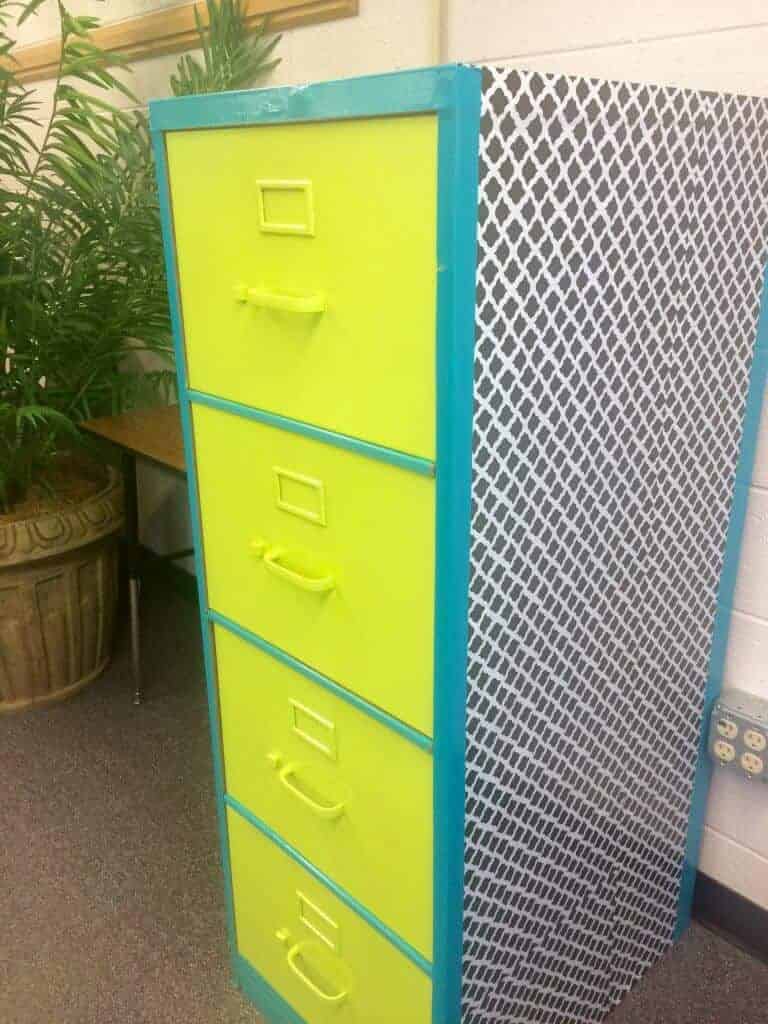
When I came back and removed the bulletin paper, this is what emerged!!
(take a minute to click the “Pin It” button…a pinnable image will pop up, just for you!)
I’m pretty happy about it, especially since I was really just winging it 🙂 Now the plan is to make a math center or word center for the other side, that will be magnetic. Maybe some multiplication fact practice so they can earn their Multiplication Fact Brag Tags.
Funny thing is, I really don’t have much to put in here yet…this piece was just really in need of a filing cabinet makeover. When I am ready to start using it for actual storage or paperwork, it’s definitely ready!
Related Posts:



Oh my goodness, I absolutely love this!! I officially have filing cabinet envy 😉
I saw a black and pink filing cabinet makeover the other day that made me swoon. Who knew filing cabinets could be so wonderful?!! 🙂
Oh wow – what an amazing transformation! It looks great! Thanks for sharing!